Browser Compatibility
- Chromium Browsers
- Safari
Works with all Chromium-based browsers:
- Chrome
- Arc
- Opera
- Microsoft Edge
- Vivaldi
- Brave
- Quetta Browser (Android)
- And other Chromium derivatives
Install the extension using the links below, or find them on your MemoryPlugin Dashboard after signing up.
Account email independence: Your MemoryPlugin sign‑in email does not need to match the email you use on ChatGPT, Claude, TypingMind, or any other tool. Access and permissions are tied to your MemoryPlugin account (and API key when applicable), not third‑party logins.
Installation
Chrome Web Store
Install for Chrome and Chromium-based browsers
Safari App Store
Install for Safari on iOS and macOS
After installation, sign up or log in to your MemoryPlugin Dashboard to start using the extension.
How to Use the Browser Extension
Once you install the browser extension, when you open supported AI tool websites, you will see a round MemoryPlugin button on the page. If you click on this button, you will be able to see all your memories and switch between active buckets.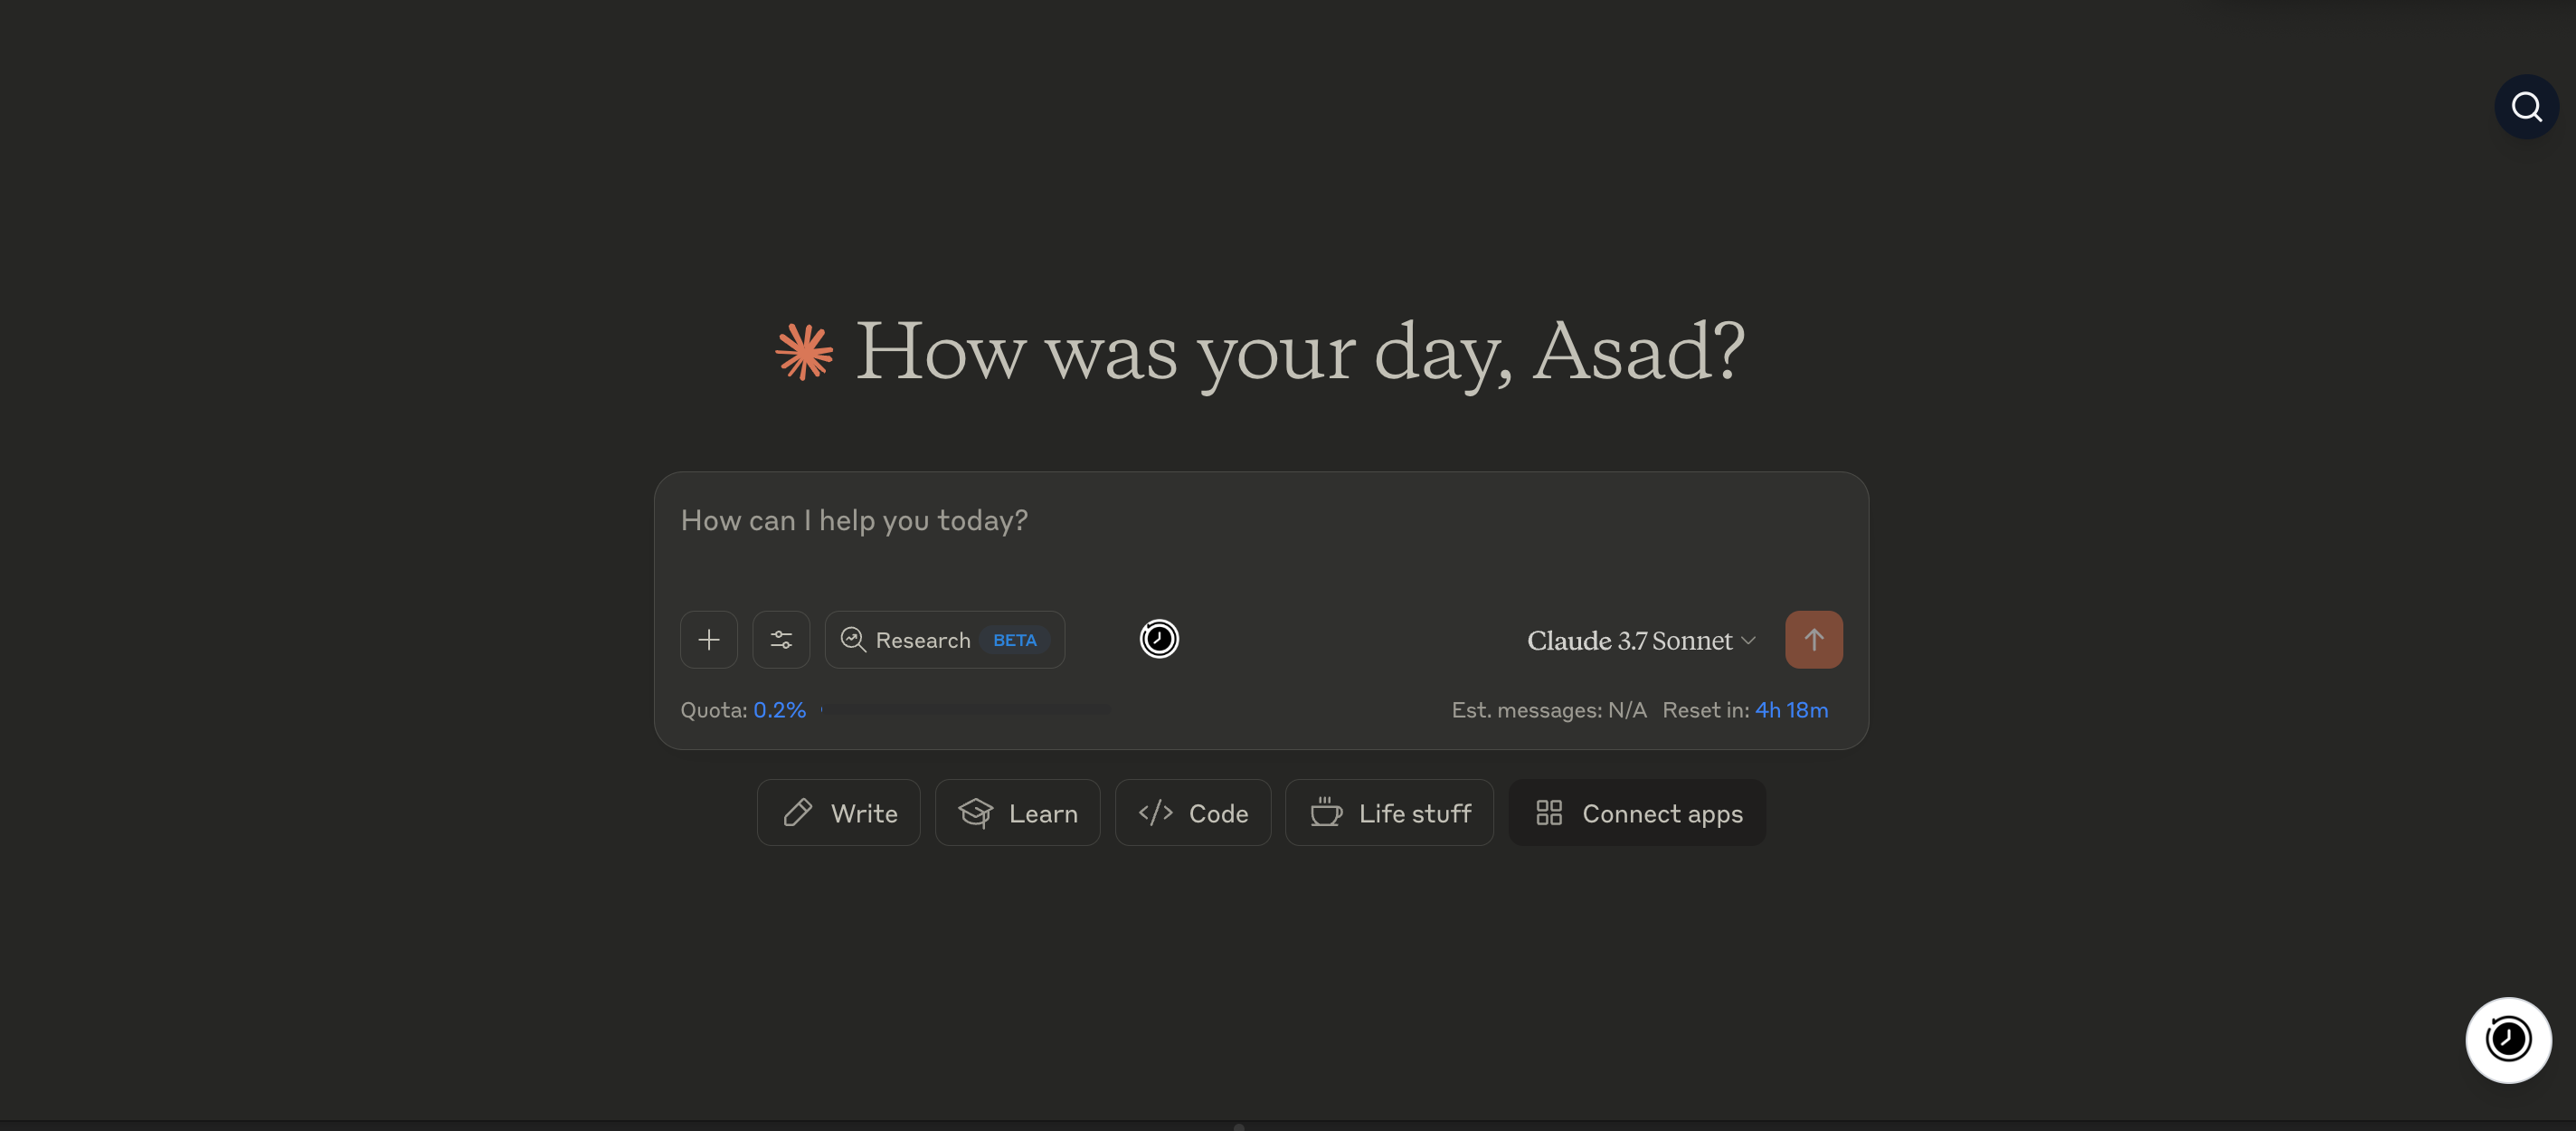
Draggable Button
The MemoryPlugin button can be dragged to any position on the page. The extension remembers your preferred position for each site, so the button stays where you put it.Extension Interface
The MemoryPlugin panel provides:- Memory List: View all memories in your selected bucket
- Bucket Selector: Switch between different memory buckets (contexts)
- Memory Count: See how many memories are in each bucket
- Smart Mode Toggle: Enable Smart Mode for token-efficient memory loading
- Edit & Delete: Manage memories directly from the panel
- Settings: Access extension settings including chat sync and onboarding
Button Variations
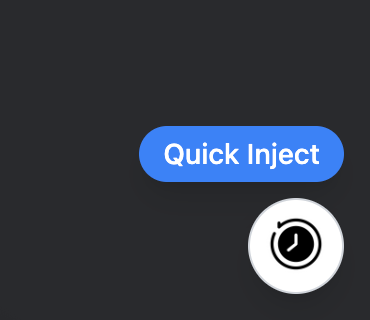
Depending on the platform you are using, you will see:- Quick Inject Button: A larger button with “Quick Inject” text on top
- Small MemoryPlugin Button: A smaller button near the chat input box
Memory Buckets
Organize your memories into different contexts using buckets:- Personal: Personal information and preferences
- Work: Professional context and work-related information
- Projects: Specific project details and requirements
- Custom Buckets: Create your own categories as needed
Injecting Memories
When you press the MemoryPlugin button, two things are added to the chat:- Your memories from the chosen bucket in the MemoryPlugin window
- Instructions for the AI on how and when to add new memories
- Instructs the AI about what MemoryPlugin is and how to use it
- Contains current memories from your chosen bucket
- Instructs the AI on what to add to memory, and how
Adding New Memories
When you activate MemoryPlugin for a chat, the AI is instructed how to add new memories using a specific format:- Automatic: It thinks something is worth remembering long term
- Manual: You explicitly ask it to remember something
Visual Feedback
When a new memory is added, you will see the round MemoryPlugin button briefly show a checkmark (✓) to indicate it has detected and successfully added the new memory.
Smart Mode
Smart Mode optimizes token consumption and keeps the AI focused by intelligently organizing and presenting your memories.How It Works
- Automatic Categorization: Analyzes all memories in a bucket and identifies 4-7 main categories
- Category Summaries: Creates concise summaries for each category
- Smart Loading: Only loads full category details when relevant to the conversation
- Token Efficiency: Reduces token usage by not overwhelming the AI with irrelevant memories
Setup
To enable Smart Mode:- Select a specific bucket (Smart Mode doesn’t work with “All memories”)
- Activate Smart Mode for that bucket in the web app (one-time setup)
- New memories will automatically be assigned to appropriate categories
Benefits
- Reduced Token Usage: Only relevant memories are loaded
- Better Focus: AI isn’t distracted by unrelated information
- Contextual Awareness: AI knows high-level information about all categories
- Automatic Management: New memories are categorized automatically
Chat History Sync
The extension can sync your conversations directly from supported platforms — no file exports needed.Supported Sync Platforms
- ChatGPT
- Claude
- Gemini
- Grok
- DeepSeek
How It Works
Open the extension panel and go to the Sync tab. Select your platform using the icon-based provider selector, then start syncing. The extension shows real-time progress (“X/Y conversations synced”) during batch operations. You can configure sync limits, cancel in-progress syncs, and the extension defaults to the platform you’re currently using.TypingMind Integration
TypingMind users can also enable auto-sync from the extension settings. For the full experience, also install the TypingMind Plugin which gives AI direct access to your memories, chat history, and files.Supported Platforms
The browser extension works with all major AI platforms:ChatGPT
chat.openai.com, chatgpt.com
Claude
claude.ai, anthropic.com
Gemini
gemini.google.com
Chat Z.ai
chat.z.ai
Kimi
kimi.com
TypingMind
typingmind.com
Perplexity
perplexity.ai
Grok
grok.com
Deepseek
chat.deepseek.com
Qwen
chat.qwen.ai
Poe
poe.com
AI Studio
aistudio.google.com
Mistral
chat.mistral.ai
LibreChat
Self-hosted instances
OpenRouter
openrouter.ai
ChatLLM
apps.abacus.ai
Special Feature: Import from ChatGPT
The browser extension allows you to import your existing ChatGPT memories into MemoryPlugin with one click.The sync process is idempotent - duplicate memories won’t be created if you run it multiple times.
Onboarding
New users are greeted with an interactive walkthrough that covers the essentials — what MemoryPlugin is, how to activate it, how to save memories, and how chat history sync works. The onboarding opens automatically on first install and can be revisited from the Settings menu (“How MemoryPlugin Works”).Privacy & Security
Your memories are stored securely on MemoryPlugin servers and are only accessible to you when logged in.
Data Handling
- Manual Activation: Memories are only added when you explicitly activate MemoryPlugin
- Secure Transmission: All data is transmitted over HTTPS
- Authentication: Requires login to access your memories
- Bucket Isolation: Memories are organized in separate buckets for different contexts
Permissions
The extension requires certain permissions to function:- Storage: To cache authentication and preferences
- Host Access: To inject UI into supported AI platforms
- Cookies: To maintain your login session
Troubleshooting
Button not appearing
Button not appearing
Memories not loading
Memories not loading
Check that you’re signed in to your MemoryPlugin account and have an active internet connection.
Sync not working
Sync not working
Ensure you’re signed in to both ChatGPT and MemoryPlugin, and that you have memories in ChatGPT to sync.
Extension permissions
Extension permissions
Make sure the extension has permission to run on the AI platform websites you’re using.
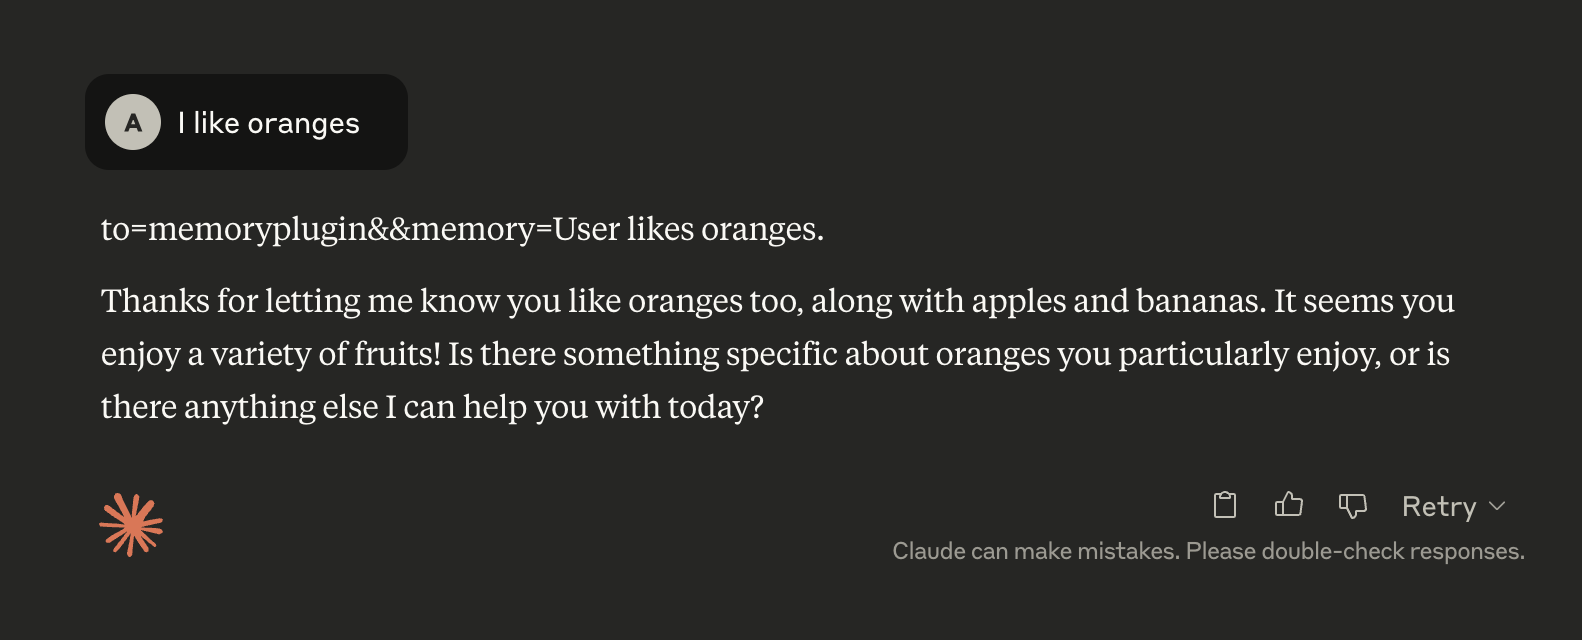
Memory not being added
Memory not being added
Ensure the AI’s response contains the proper format:
to=memoryplugin&&memory=[text]Canvas mode issues
Canvas mode issues
The extension adapts to ChatGPT’s Canvas mode - refresh if buttons don’t appear correctly.
Next Steps
Organize with Buckets
Learn how to organize your memories into different contexts
Try MCP Server
Use MemoryPlugin with desktop AI applications